Photographing Garden Birds
I’ve enjoyed birdwatching since I was a boy, an interest that I developed after watching garden birds with my dad. Now, I’m a life member of the RSPB. These are my tips for taking photographs of the birds you can find in your garden.

Before we start, it’s not easy. You’ll make mistakes and lots of your photos will probably be rubbish (most of mine are). But … film is free on digital cameras and only show people your best pics (another tip!).
Next, what birds do you want to photograph? Different birds eat different foods and they’ll feed in different ways. For example, blue tits won’t eat from a table, robins only tend to eat from the floor (dirty!) and blackbirds won’t eat from a peanut feeder. If you want a specific species of bird, you’ll need to research how and what they eat and then cater for the every need of those fussy so-and-so’s.

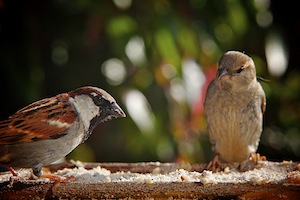
In terms of photography, a stable table is easier because it doesn’t swing about. It doesn’t have to be fancy or ornately decorated, either. Trust me, the birds will soon leave their mark on it. You can recreate a ‘woodland feel’ to your photo by attracting the birds to a branch that you’ve set up. The background is important too – something that makes the birds stand out. Plus, a wide aperture setting on your camera will make it out of focus.
Patience. It will take time for the birds to know there’s food to be had in your garden … but once they know, they know!

Choose a spot in your garden that suits you and your photography. Birds are more active in the morning – the early ones catch the worm, y’know! So put your food in a place that the morning sun reaches and you’ll have lots of natural light for your pics. Ideally, there’ll be cover from predators nearby as well. Small birds like to hide in a tree, pop out to eat then nip quickly back to safety.
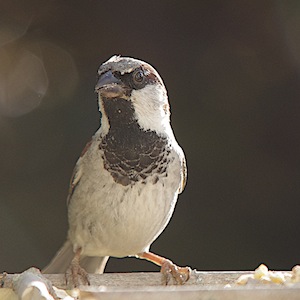
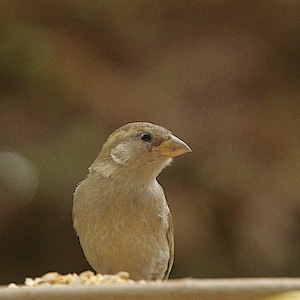
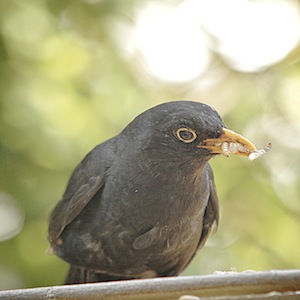
Do you want to be huddled in the shed with your camera? Would you rather be sat in comfort watching telly? All of my photos on this page were taken through the open window of the front room in my house (the telly was on!). The table is about 3 foot from the window and the camera is on a tripod, partially obscured by the curtains. “3 foot? Why so close?” I hear you ask. That way the bird ‘fills the frame’ and isn’t a tiny speck in the distance. Sometimes I used a ‘cable release’ to take the photos – I even used an app on my phone once to do it! Or just sit by your camera and wait.
Patience. Speed. Patience. Speed.
All or nothing.
Waiting for the birds to land and feed can take a while, but when they do … it’s GO! GO! GO! They move fast and don’t hang about! You’ve got to be quick or you’ll miss it, and you’ll need a fast shutter speed (at least 1/500th sec) or you’ll risk your photos being blurry.

In summary:
Choose a site that has lots of natural light, has cover nearby, is comfy for you and is close enough for you take decent photos.
Patience. There’s lots (LOTS!) of waiting.
Speed. Work fast when they’re there or you’ll miss them. Also, use a fast shutter speed to avoid blurry pics.
Finally, only show your best pics!